| #machine-learning, #python, #docker, #infrastructure | |||
MLOps for Web Devs - Fastai2, Flask, Docker, & Heroku |
|||
You’ve built your fastai2 model and now you want to expose it via an API. There are tools like Render, Google App Engine, AWS Lambda, Amazon SageMaker, and Microsoft Azure Functions that you may use in different production scenarios, but today, we’ll use Docker and Heroku.
I use this stack because, as a web developer, I’m already familiar with most of it. Heroku has a generous free-tier container registry and runtime, Flask gives me control over the API with very little boilerplate, and, I’m not vendor locked—If I don’t like Heroku, I can deploy my Docker container anywhere.
With that said, there are some prerequisites for getting the most out of this article:
- You’ve already built your fastai2 model (check out fastai for their free courses!)
- You have an account and have deployed to Heroku (not necessarily with their container registry)
- You are familiar with Docker
- You are familiar with Flask/web API frameworks
Flask
To begin, we’ll build a Flask app that wraps our model’s inference in an API.
# app.py

import os
from flask import Flask, request, make_response
from werkzeug.utils import secure_filename
from fastai2.vision.all import *

UPLOAD_FOLDER = 'tmp'
ALLOWED_EXTENSIONS = {'png', 'jpg', 'jpeg', 'gif'}

app = Flask(__name__)
app.config['UPLOAD_FOLDER'] = UPLOAD_FOLDER
learner = load_learner('export.pkl')

def allowed_file(filename):
    return '.' in filename and filename.rsplit('.', 1)[1].lower() in ALLOWED_EXTENSIONS

@app.route('/ping')
def ping():
    return {'success': 'pong'}, 200

@app.route('/predict', methods=['POST'])
def predict():
    if 'image' not in request.files:
        return {'error': 'no image found.'}, 400

    file = request.files['image']
    if file.filename == '':
        return {'error': 'no image found.'}, 400

    if file and allowed_file(file.filename):
        filename = secure_filename(file.filename)
        filepath = os.path.join(app.config['UPLOAD_FOLDER'], filename)
        file.save(filepath)
        prediction = learner.predict(filepath)
        return {'success': prediction[0]}, 200

    return {'error': 'something went wrong.'}, 500

if __name__ == '__main__':
    port = os.getenv('PORT',5000)
    app.run(debug=True, host='0.0.0.0', port=port)
Let’s go through this, together.
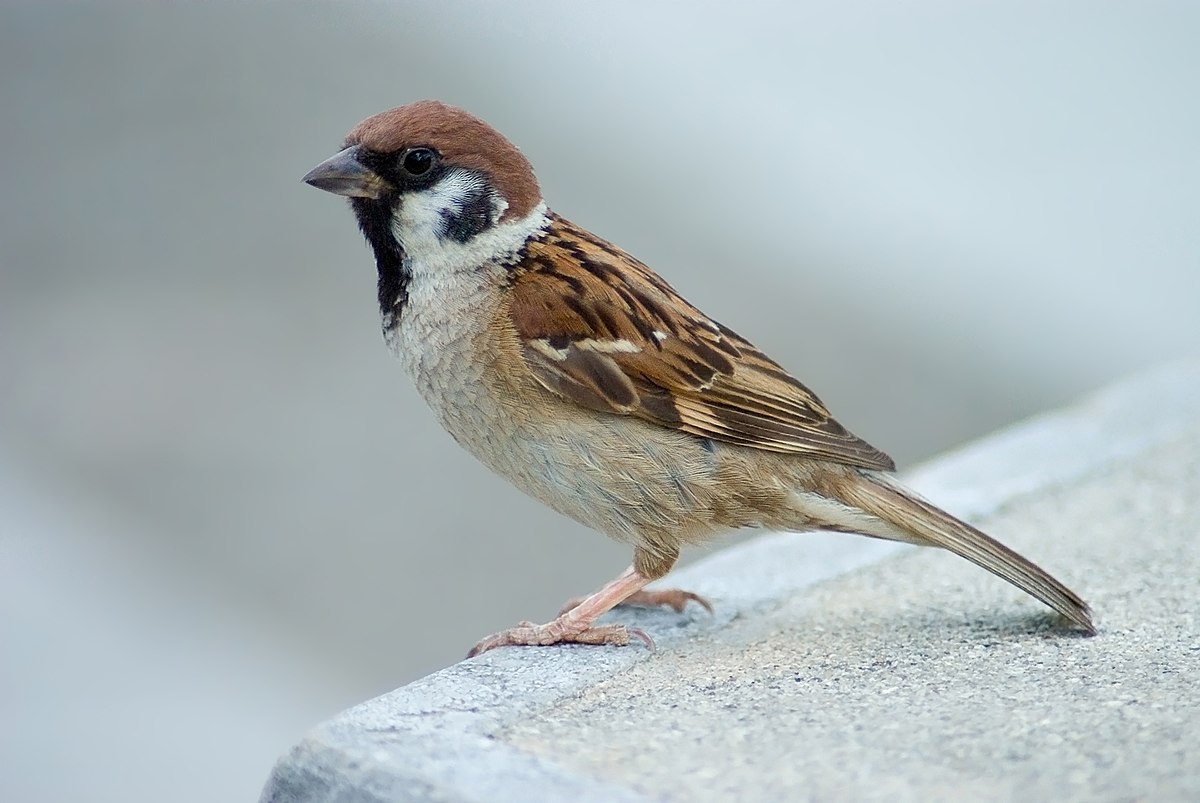
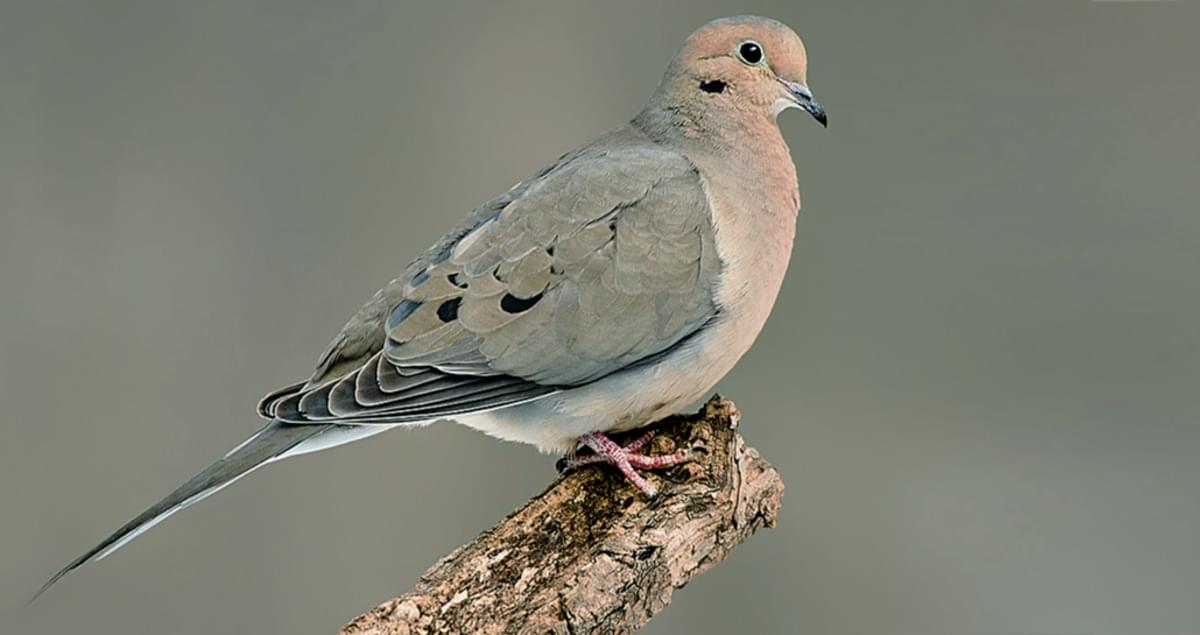
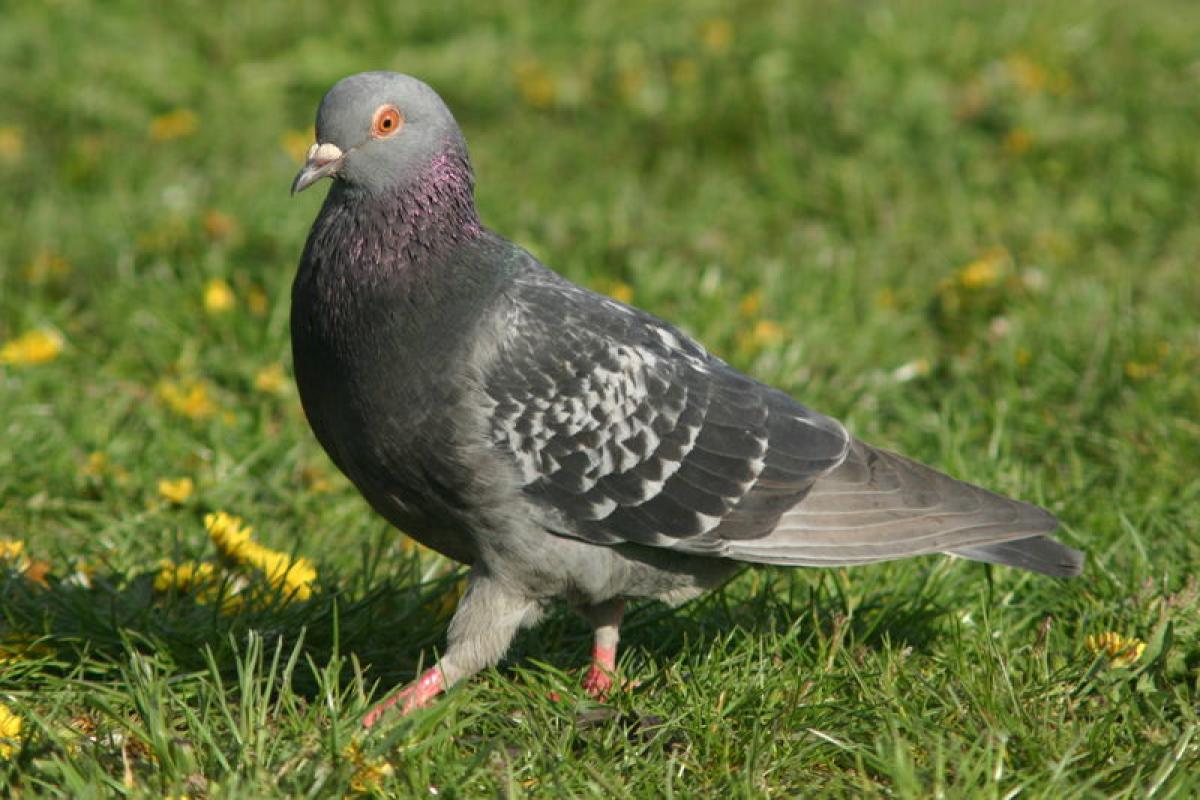
First, we import some required modules. From os, we’ll be able to do things like get environment variables and use filepath utilities. From Flask, we’ll get what we need to use the framework. wekzeug.utils gives us a way to create a secure file name from a file uploaded by the user. Finally, we need fastai2, which I’ve used to build a model to tell if a picture contains a mourning dove, a sparrow, or a pigeon.
After defining some environment variables and Flask configs, we load our model into memory by way of fastai2’s load_learner() function, which takes in the file path of the .pkl export of our model.
learner = load_learner('export.pkl')
This part is interesting because normally, a fastai2 “pickle-ed” model file would end up being too large to use with Heroku and you’d encounter an error like this:
Compiled slug size: 520.5MB is too large (max is 500MB).
In fact my .pkl file alone is 78MB and I had to use git-lfs to manage it effectively with version control.
du -sh pigeon/* | sort -hr
 78M	../pigeon/export.pkl
1.4M	../pigeon/tmp
 48K	../pigeon/Pipfile.lock
4.0K	../pigeon/requirements.txt
4.0K	../pigeon/app.py
4.0K	../pigeon/__pycache__
4.0K	../pigeon/Pipfile
4.0K	../pigeon/Dockerfile
⚡ I didn’t know about Heroku slug size limitations before this. Heroku compresses and pre-packages your application in order to optimize its ability to scale and expand it when needed.
I thought this meant that it would be impossible to host my model on Heroku without offloading the .pkl file to external storage, until I read this from the Container Registry & Runtime (Docker Deploys) Heroku documentation:
While Docker images are not subject to size restrictions (unlike slugs), they are subject to the dyno boot time restriction.
⚡ So, if we Docker-ize our Flask app, it means that we don’t have to worry about how large our .pkl file is, as long as it binds to the assigned $PORT within 60 seconds!
Next in our Flask app, we define a helper method for determining which files are allowed to be uploaded by the user, and define a /ping route to check for app health.
Then comes the bulk of the API: the /predict route.
@app.route('/predict', methods=['POST'])
def predict():
    if 'image' not in request.files:
        return {'error': 'no image found.'}, 400

    file = request.files['image']
    if file.filename == '':
        return {'error': 'no image found.'}, 400

    if file and allowed_file(file.filename):
        filename = secure_filename(file.filename)
        filepath = os.path.join(app.config['UPLOAD_FOLDER'], filename)
        file.save(filepath)
        prediction = learner.predict(filepath)
        return {'success': prediction[0]}, 200

    return {'error': 'something went wrong.'}, 500
Within the error handling that checks that a POST request with an image field had made it to our endpoint with some data, we start the inference process.
First, we create a new filename based on the name of the file that the user uploads. (The secure_filename() function is a security measure that I invite you to read more about). Next, we create a filepath by concatenating our new filename with the UPLOAD_FOLDER name, and then we save the file to our sever.
⚠️ In this case, Docker containers on Heroku behave the same way as slugs do: files are saved in an ephemeral filesystem. This means that files only live as long as the dyno process does—once it’s restarted or stopped, the files are destroyed. This can be good for pet projects like this, but a more robust solution might be to upload to external file storage.
After that, we call the learner.predict() function and pass in the filepath of our user’s uploaded image. Finally, we take the first element of the prediction, (which in this case is the label name), and return it as JSON. If you’ve already built your fastai2 model, the inference part should be familiar to you. If you’ve worked with the web before, JSON is probably second nature.
Lastly, if all of the if-checks have failed, we return a 500 Internal Server Error, with our favorite error message.
We should be able to run our Flask app locally by using the python CLI:
$ python app.py
Test it out by using curl to POST to localhost:5000 and send an image field:
$ curl -F 'image=@/Users/thomas/Pictures/sparrow.jpg' localhost:5000/predict
{
  "success": "sparrow"
}
Docker
If it wasn’t for Heroku’s slug size restrictions, this would have been almost the end. You’d heroku push this up and your new ML app would be up and running. However, after our discussion earlier, we know that we want to use Docker to encompass our application’s runtime environment so as to avoid Heroku’s slug size restrictions.
Here’s a minimal Dockerfile with a little bit of a twist on how I’ve handled dependencies…
FROM python:3.6-slim-buster
RUN pip3 install pipenv
COPY Pipfile* /tmp/
RUN cd /tmp/ && pipenv lock --requirements > requirements.txt
RUN pip3 install -r /tmp/requirements.txt
COPY . /app/
WORKDIR /app/
ENTRYPOINT ["python"]
CMD ["app.py"]
Let’s take a look, together.
FROM python:3.6-slim-buster
I’m not a Docker image expert—as far as I’m concerned, if you don’t want to build your own image, you can just find the smallest one that works for you. Itamar Turner-Trauring has written (and continually updated) The best Docker base for your Python application that I think provides some tips on how better to choose an image.
RUN pip3 install pipenv
COPY Pipfile* /tmp/
RUN cd /tmp/ && pipenv lock --requirements > requirements.txt
RUN pip3 install -r /tmp/requirements.txt
This is a bit of a hack to allow me to define requirements/dependencies in just one place: a Pipfile that I use for managing my development environment with pipenv. Itamar Turner-Trauring has also written about this hack in their article Faster Docker builds with pipenv, poetry, or pip-tools and these lines are taken verbatim from their advice. Essentially, we install pipenv in order to extract a requirements.txt file from the already defined Pipfile, before using pip3 to install our dependencies.
COPY . /app/
WORKDIR /app/
ENTRYPOINT ["python"]
CMD ["app.py"]
These last lines are standard operations: copy all of our files to the container (this includes our .pkl file), change our working directory, then run our Flask app using the python cli.
⚠️ Defining an ENTRYPOINT and a CMD means that our ENTRYPOINT argument will always be used, but our CMD can be overwritten by commandline arguments. This isn’t necessary, and in this example, we could have defined only an ENTRYPOINT so that our container would always be run as an executable without the option of being overridden.
That’s all for our Dockerfile. We can now build and tag our image:
$ docker build --tag pigeon:latest .
And then run it locally in the background:
$ docker run --detach --publish 5000:5000 pigeon
Our Flask app defaulted to using port 5000, so without specifying a different PORT environment variable, we can bind, or publish, that default port to our local machine’s port 5000.
Now you should be able to send a POST request to localhost:5000 just as before:
$ curl -F 'image=@/Users/thomas/Pictures/sparrow.jpg' localhost:5000/predict
{
  "success": "sparrow"
}
Heroku
Now that we’ve captured our model into a Flask app and Docker container, we can take it and deploy it in many different places, but I like Heroku best—I’ve deployed many apps with it, it’s generously free, and it works well.
⚠️ Make sure you check with Heroku’s Free Dyno Hours documentation to understand what the limitations are. Most notably, free web dynos (which our Flask app is one) will “sleep” after 30 minutes of inactivity. This means that you may experience latency when your dyno cold starts.
Heroku’s Container Registry & Runtime (Docker Deploys) documentation covers the steps on how to deploy your Docker container to their registry and runtime.
First, make sure you’re logged in to the heroku CLI
$ heroku login
Log in to Container Registry:
$ heroku container:login
Navigate to the app’s directory and create a Heroku app:
$ heroku create

Creating shielded-eyrie-48894... done, stack is heroku-18
https://shielded-eyrie-48894.herokuapp.com | https://git.heroku.com/shielded-eyrie-48894.git
Build the image and push to Container Registry:
$ heroku container:push web
Then release the image to your app:
$ heroku container:release web
Now open the app in your browser:
$ heroku open
If you created a Flask app similar to mine, you may not have defined an index page (/ route), in which case, calling heroku open will open your browser to a 404 Not Found page.
Instead, you can curl the /ping route:
$ curl https://shielded-eyrie-48894.herokuapp.com/ping
{
  "success": "pong"
}
And call your /predict endpoint, just as before:
$ curl -F 'image=@/Users/thomas/Pictures/sparrow.jpg' https://shielded-eyrie-48894.herokuapp.com/predict
{
  "success": "sparrow"
}
Conclusion
Hopefully this article answered the question: “what do I do after fitting my model?” The reason that I like this stack in particular is because it parallels what I’m familiar with as a web developer—the fact that the API happens to load a .pkl file is trivial thanks to fastai2. Also, with a Dockerfile, I’m not locked into the proprietary solutions that MLOps is building towards.
Is this stack production-ready?
Not quite. Heroku’s free-tier isn’t recommended for production, but their paid options are! Likewise, many other container registries offer similar solutions. Like all architectural decisions, your mileage will vary depending on your needs. If you’re building a system to recommend blog posts on your site, this might be enough! If you’re trying to erect mission-critical systems that will embed within your decision-making apparatus, probably not.
Try it Out!
As mentioned above, my app is on a free-tier Heroku dyno, so you might need to wake it up before trying it:
$ curl https://shielded-eyrie-48894.herokuapp.com/ping
{
  "success": "pong"
}
Now, test it out with these images, or upload your own!
⚠️ This model is probably not going to infer all of your images very accurately. It was trained on a tiny dirty dataset, but it worked for illustrating the deployment pipeline in this article. Secondly, I mislabelled mourning doves as morning_dove, sorry!
$ curl -F 'image=@/Users/thomas/Pictures/sparrow.jpg' https://shielded-eyrie-48894.herokuapp.com/predict
{
  "success": "sparrow"
}